This post contains affiliate links and I will be compensated if you make a purchase after clicking on my links.
Christmas is only a few short weeks away people! Decorating for Christmas, well by the look of my Instagram account it has already started. I typically put up our Christmas decorations the weekend of Thanksgiving. Every year for the past two years I’ve wanted to do something more in my kitchen. The appliances aren’t going to get specially bedazzled for Christmas, the counters get a few holiday containers and the table gets a fun new look. The walls are pretty much the same. This year I decided to jazz up our magnet board.
This is the Spontan IKEA magnet board. It is typically covered in permission slips, emergency phone numbers, upcoming events and other friendly reminders. I have done this project twice depending on the direction my magnet board is hanging that year.

Removable Magnet Board Holiday Cover
This project took me about 30 attentive minutes total to complete.
Here's a list of the supplies I used:
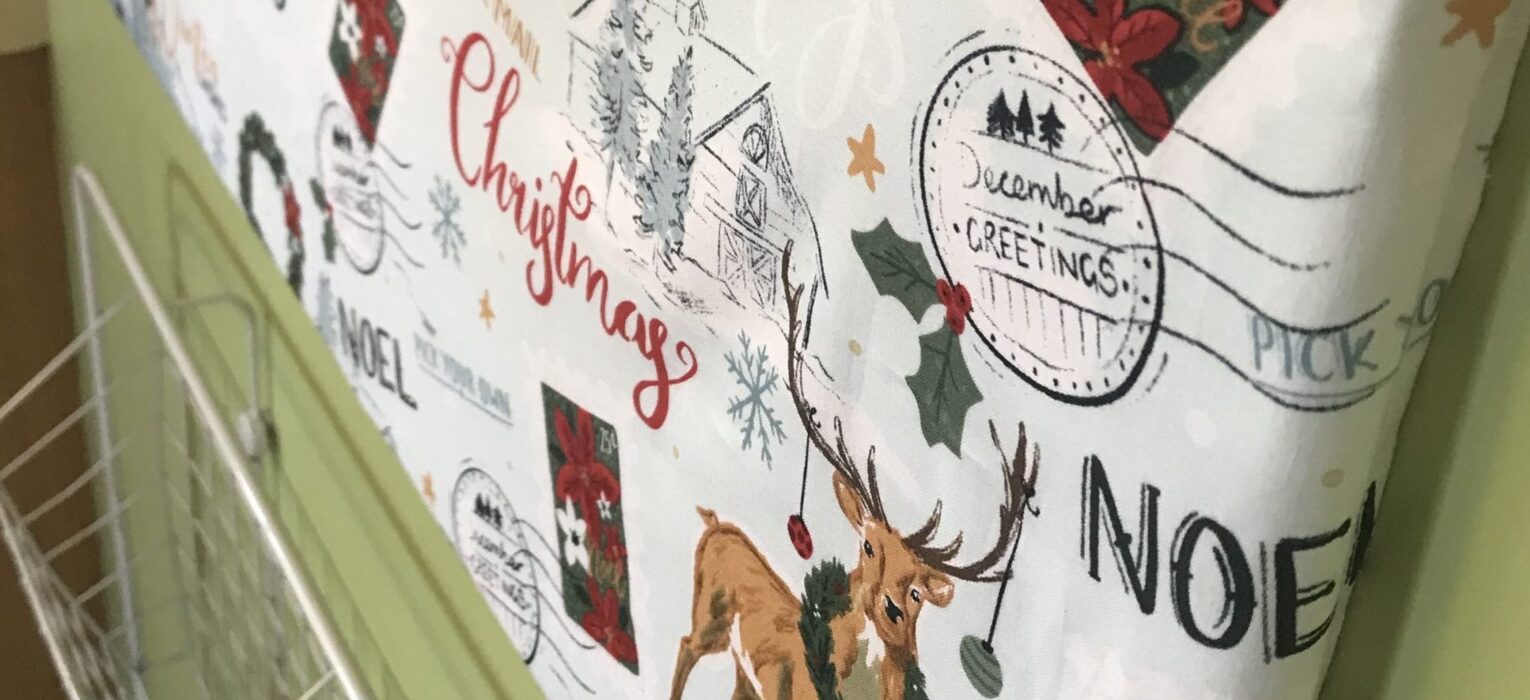
- 18" x 34" of holiday fabric (make sure the fabric is thin enough for magnets to work)
- 12" of elastic
- matching thread
- rotary cutter
- sewing machine
- iron (optional)

The board measures 14.5" x 30.75" and is about .75" wide. I added at least one inch around the entire board to make sure that there was enough material to fit over the back edge of the board and a little extra if needed.
After cutting the material to size, I ironed a half inch seam around the entire material. I did not trim the corners, I solved the problem of the excess material in the last step. I believe you could trim the corners if you wanted, I just decided to go a different way.
Let's Start to Sew

I used a straight stitch throughout my whole project. Started by sewing down my ironed seam, around the entire project.
If anyone out there is a beginning sewer, don't let the sewing machine intimidate you. Just start with little projects like this and your confidence will build. You will mess up and but once you create something that you are proud of saying "I Made That!" you will continue to try to sew. I still don't quite understand how the bottom thread intertwines with the top thread to form stitches, I just know it works!
Cut the elastic into 4 equal lengths. I laid the magnet board onto the material to judge/measure where I wanted the elastic to be placed. It ended up being approximately 3 inches from each corner. I first tacked down one side of the elastic. Next attach all 4 corners of the elastic.

The magnet board has mouse shaped hangers on the back on all four corners. The material could not cover these openings. The corners had some excess material and I had two choices. I could cut the material away or pin it down.
Giving it a Finished Look


I decided to sew down the excess material. I folded it over and tacked it in place. Then I was able to sew it nice and flat. This way the extra material was taken care of, as well as the opening for hangers was well exposed.
Then hang it back on the wall and stand back and admire your handy work! Upgrading our family calendar area with a little holiday decor!

Tay
Love it, what a neat idea!
Kim Amy
Tay, thank you so much. Glad you liked the idea.