This post contains affiliate links and I will be compensated if you make a purchase after clicking on my links.
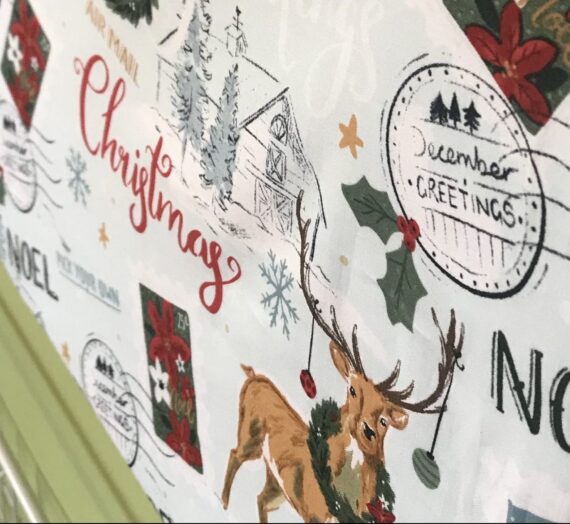
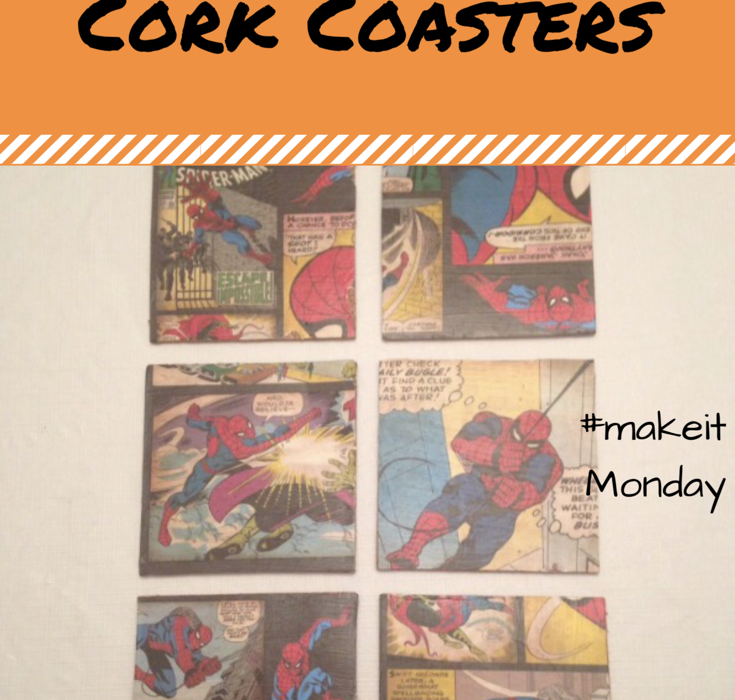
I made Spiderman cork coasters in the past and love how they stood up to use and liquids. We are a superhero fan family and these fit in great in our TV den. I thought I would make a few to put out at different holidays to add to our home decor. Fall is coming up so I dug out my old scrapbooking supplies and was able to find a few sheets of paper that fit the bill. I am a total Snapfish user now, therefore I like to find different ways to use up old scrapbooking supplies.
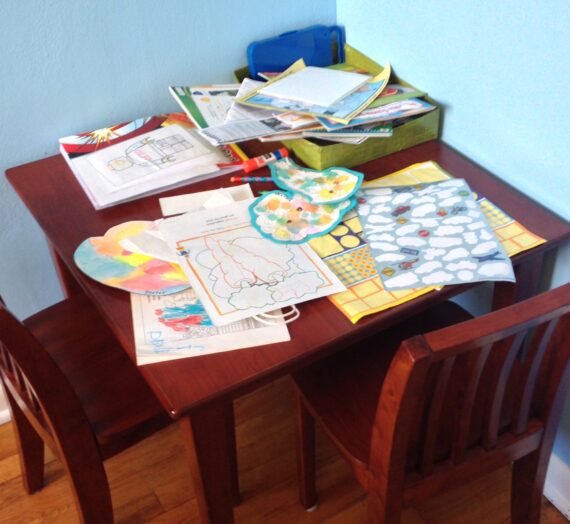
Cork coaster supplies
Step 1: Get a roll or sheet of cork, any craft supply store should have this. Paper of any kind, the thinner the more likely it is to bubble up. Mod Podge, I use glossy and outdoor to get a waterproof seal. A credit card or similar to smooth out the bubbles. A sharp blade to cut the cork.

Step Two: A sheet of classic scrapbook paper makes nine 4 X 4 inch squares of paper. I love using my line cutter from Fiskars. It has a ruler that slides out a straight edge to rest the paper against and cuts terrifically.
Step Three: Line up the paper on the cork, using the exact-o knife, cut the cork squares. Make sure you are cutting through and not tearing the cork ( now I’m down a few more coasters for this project).
Step Four: Flatten the cork if it is not already flat prior to gluing on the paper.
Step Five: Brush the glue onto the cork, then onto the back of the paper. Allow to dry for awhile, also edge the cork with the glue to seal it. At this time use your straight edge device (credit card) to get the bubbles out of the paper.
Step Six: Once the paper has dried, coat the tops with a layer of Mod Podge. Use your own judgement after this dries if you feel like it needs another coat. Then allow to fully dry and begin to use to your hearts content!

HELPFUL HINTS:
Do not use a scissors to cut the cork it will be uneven and dull cut.
Do not vacuum prior to this project it will make a bunch of cork shniblees. (It’s like serving spaghetti to your kids right after you washed the kitchen floor.)
Flatten out the cork prior to gluing on the paper ( I remembered that one half way through this project!)
Allow to fully dry prior to storing or stacking. It’s really annoying completing this whole project then stacking them up, just to find out later that you have cork bedazzled coaster.
Hope you enjoyed this Make it Monday!