This post contains affiliate links and I will be compensated if you make a purchase after clicking on my links.
Drying your own flowers rather than buying dried flowers can be easier than you think. It will also save you money instead of buying the dried arrangements or stems from a store. You can determine the length of your stem and the amount or style of flowers you desire. I have been drying my herbs for a few years now, but this year decided to give drying oregano flowers a try.

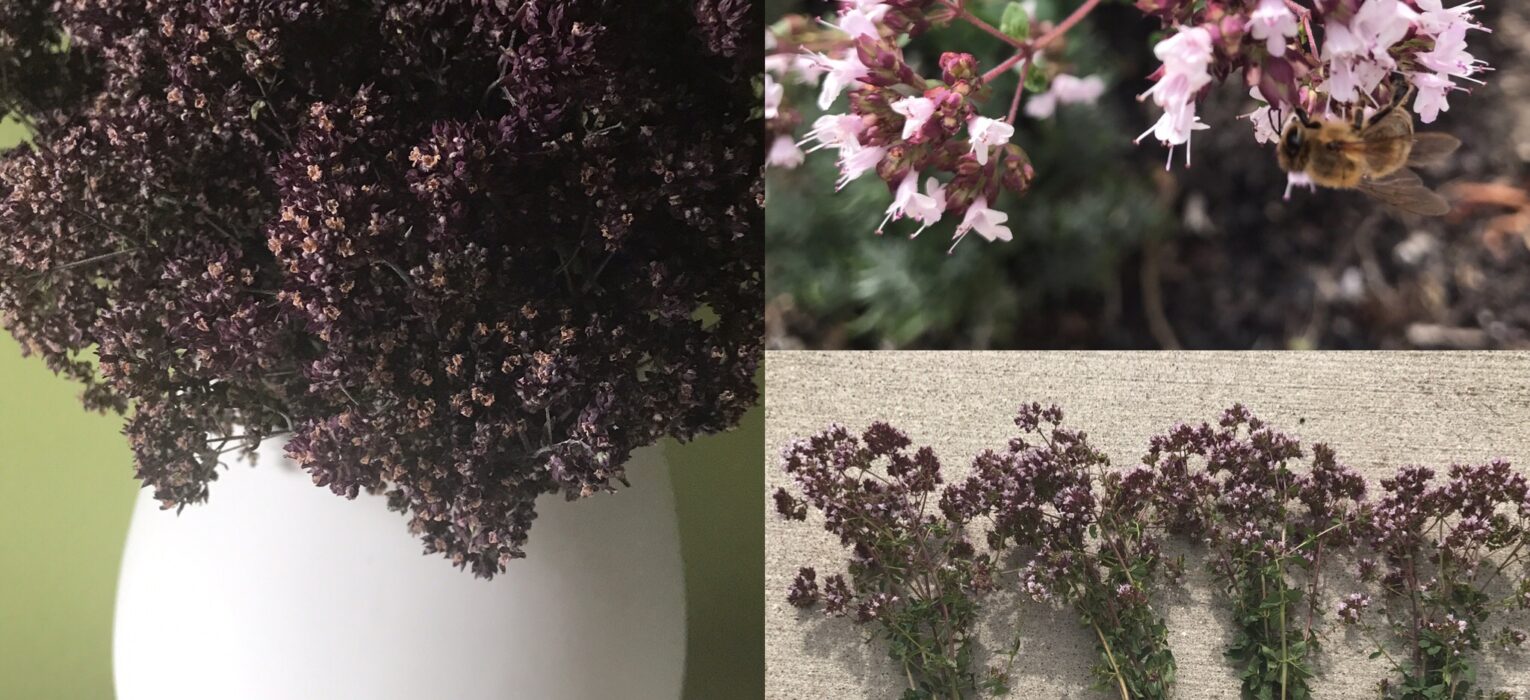
I love my herb garden, this time of year it blossoms like nobody’s business and attracts on onslaught of beautiful buzzing bees. My oregano plant likes to overwhelm the rest of my herb garden. Every year I cut it way back and this year I even split the plant, it still takes over a corner of my garden. This year I missed my chance to harvest the green leaves prior to the flowering. The herbs don’t have as much flavor after the flowers start because the plant put the energy into growing the flowers. So I decided to use the flowers in cut arrangements and tried drying and preserving the blooms.
I put together a simple cut flower arrangement of oregano, dill and bee balm. Such a sweet and summery arrangement. The cut flowers lasted for about 2 weeks prior to drooping, which I thought was pretty good. I did a few things to help them last. I cut the stems in the morning after the dew had dried up but before the heat of the sun got to them. The cut bee balm flowers were either unopened or just about to open (except one cause it was so gorgeous), the dill and oregano were already flowering. Then I placed the flowers in a vase of water with 2 teaspoons of epsom salt. All of these steps seemed to do the trick and my family was able to enjoy the scents of the garden inside the house as well!

On to the Drying of the Oregano flowers!
Curious, I looked up how much a bunch of dried oregano flowers would be if purchased on-line. The price is about $11.99 a bunch (20-30 stems). I dried my flowers in two batches and came up with about 50 stems. This is a saving of at least $24 dollars not including shipping and handling.
First step was getting my supplies to set up the drying. I grabbed my sharp scissors and my spool of baker’s twine. Next was cutting the stems. I did some experimenting and found that the woody stems held up better to the drying and stayed a bit straighter. The greener stems seemed to droop and wilt prior to me being able to tie them together. I decided to do about 25 stems…..then about 1 week later I wanted more and did another 25.

Prior to tying them together I cleaned the lower stems of it’s leaves by pinching the stem and running my fingers down the shaft. This technique worked much faster then plucking the leaves off one at a time. Then I piled them up into bunches of about about 5-7 stems and tied them together. I wanted only a few stems per bunch to allow for thorough drying. When tying the bunches together remember to make the string long enough to form a loop at the end.
I looked for a dry warm place to hang my oregano flowers to dry out nicely. Our garage fit the bill. I didn’t have a bunch of hooks or nails in place to dry them (maybe a project for another day….). Instead I flipped my rake upside down and hung the flowers from the tines. 
It actually looks kind of cute hanging from our rake….until you take a step back and see that it’s just another thing hanging up in our garage. 
The Flowers are Dry…Now What?
Once all my flowers and leaves were nicely dried out I took them off the rake and they started to loose some of their petals. YIKES! I wanted to find an easy way to preserve them, with something I had on hand. I did a quick google search and found some options. Spraying with unscented hair spray, dried flower preserving spray, and using acrylic spray. Well hello! I mod podge so of course I have my Mod Podge acrylic sealer
.
I grabbed some of my son’s sand from his sandbox and popped it into a container that could hold all of the bunches. Now I could turn the container around and be able to spray all sides of the bunches. I put about 3 coats of sealer on the dried oregano flowers to be sure my work would last. Now all I need to do it find a fun way to display them inside our house. 
This little project was a great way to bring my garden inside for a fraction of the cost of buying dried flowers. They turned out great! Dried oregano flowers will be a welcome sight come winter and there is nothing growing outside but piles of snow and ice. Thanks for joining me this make it Monday! I hope you come back again and see what other projects I’m working on!


Sue from Sizzling Towards 60 & Beyond
Hi Kim and thank you for the lesson on DIY Dried Oregano Flowers. Lovely to have you share with us at #overthemoon link party.
Kim Amy
Thanks, I’m glad you enjoyed it! Love your #overthemoon link party!